The ideas here run from a roll of simple craft paper wrapped around a gift, to a custom print you design yourself, with gingham, polka dots, strawberries and metallic sheets in between.
Time before the party decides the pick: with a few days, design a repeating pattern or a matching tag-and-paper set, and with less, let simple craft paper, a personalized name or shiny metallic paper do the decorating.
1. Design Your Own Wrapping Paper
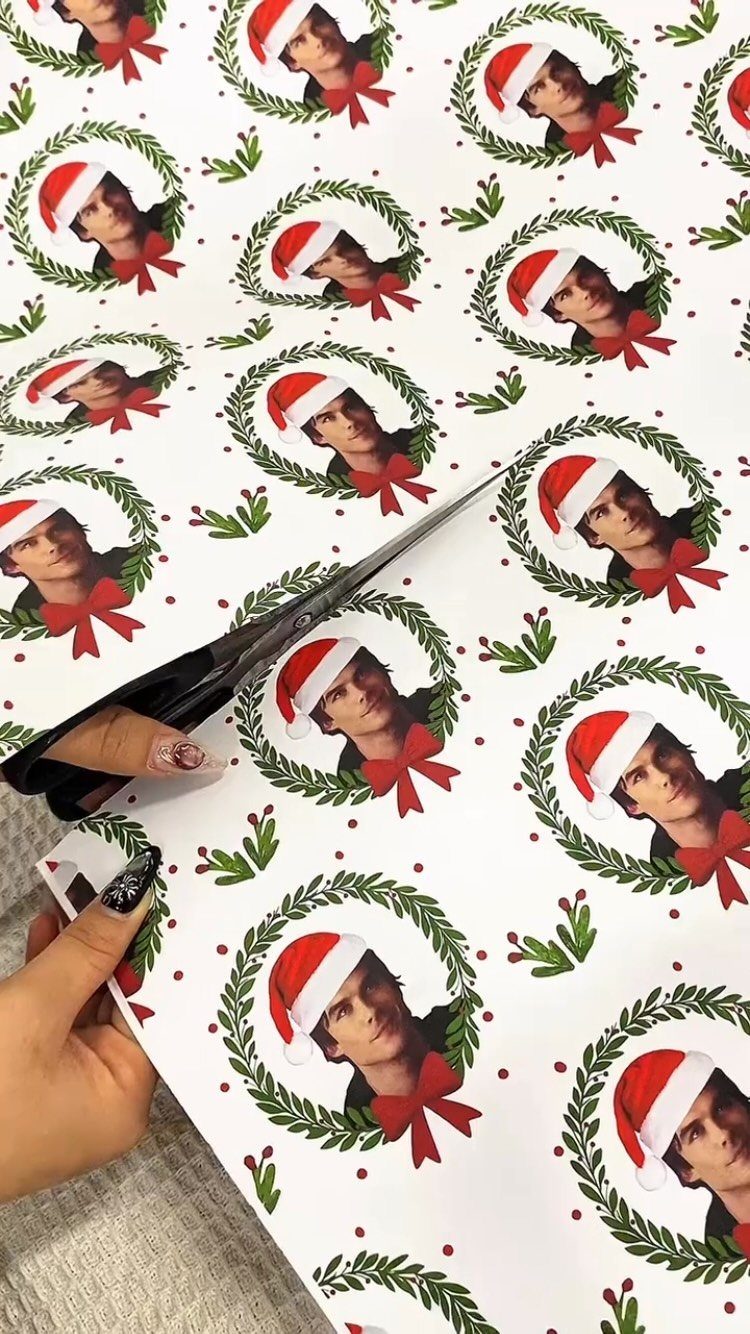
Any design software that lets you tile an image will do the job.
Pick a photo with a clean outline and a simple background, then place it in a grid with even gaps. Frames like a wreath give each face a border, so trimming stays forgiving.
Print a test sheet before committing to the full run. Faces show every flaw, so check the crop first.
2. Personalize with Names
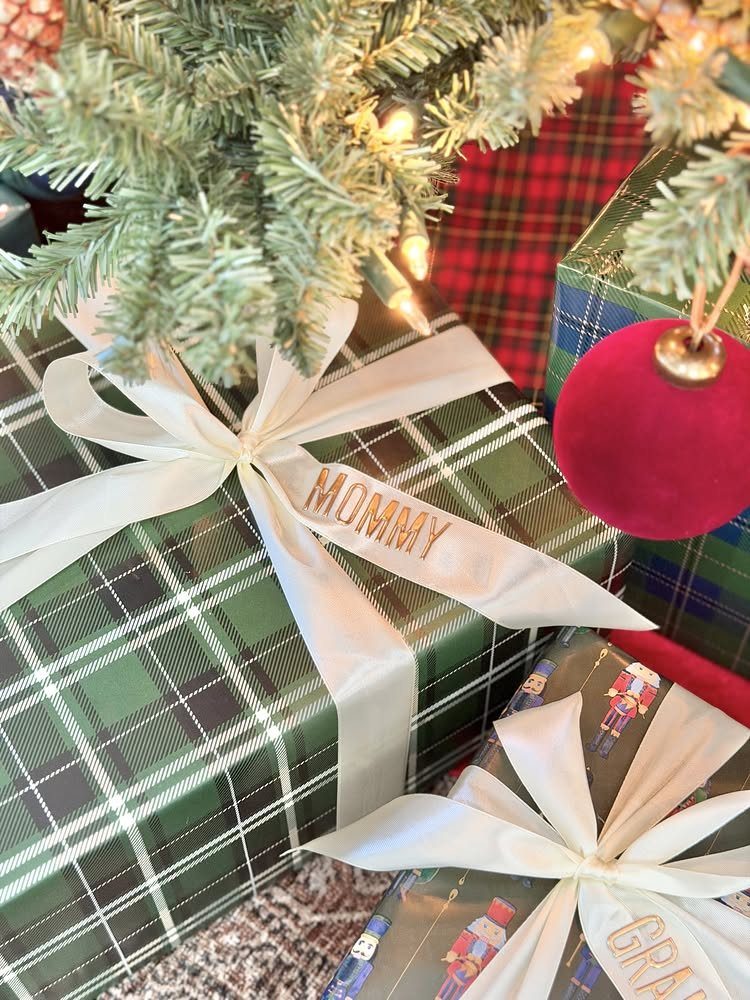
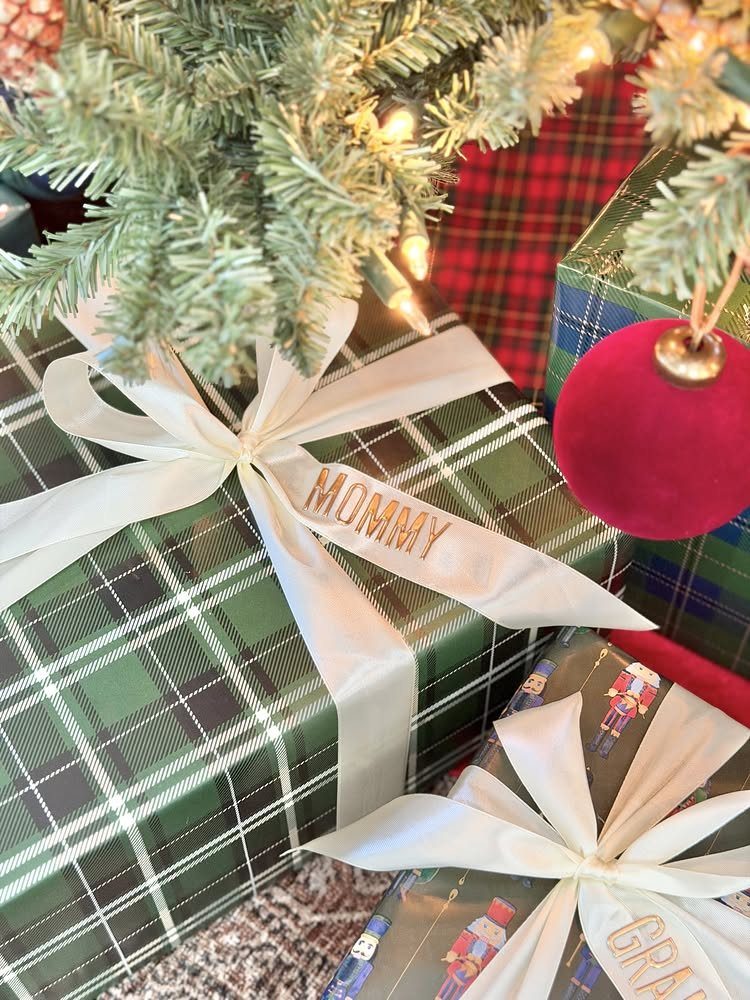
Names on ribbon do the personalizing without touching the paper, which means one roll of plaid can serve a whole tree. Printed ribbon like the "MOMMY" strip here also doubles as the tag.
Keep the wording short, since a long name or message runs off the width of a ribbon fast. Test your spacing on scrap first.
3. Use Seamless Patterns
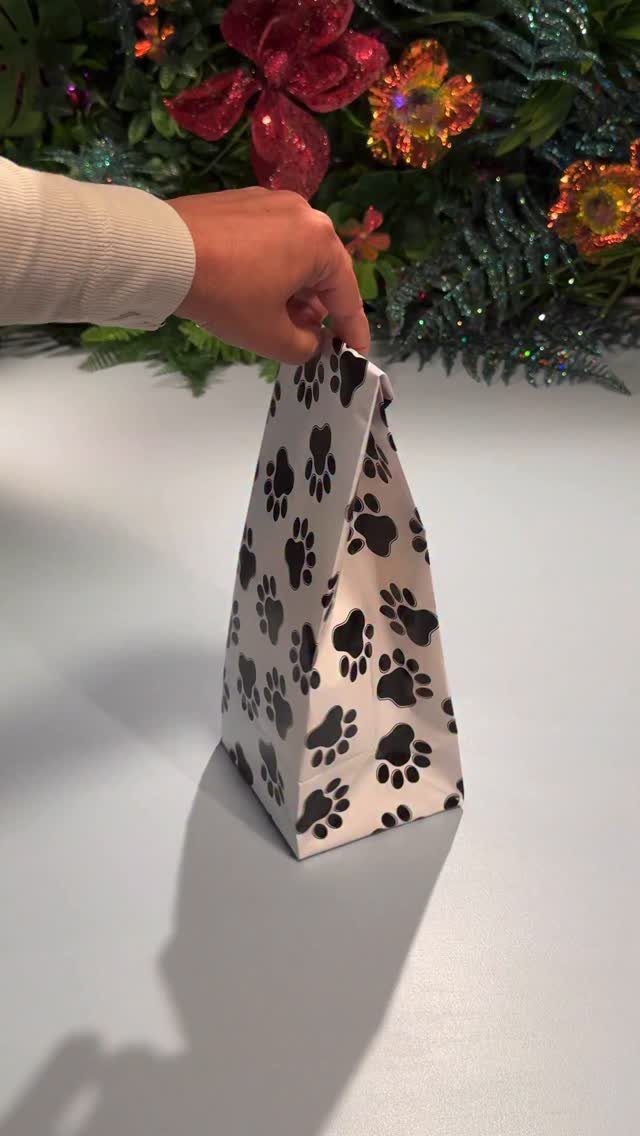
Paw prints scattered at random only look intentional if the repeat has no visible edges, and that is the whole job of a seamless pattern. Build your tile so shapes that leave one side re-enter on the opposite side.
Once the tile is done, it fills any size: a gift bag, a sheet of paper, a tissue wrap. A single black motif on white, as here, is the easiest place to start because there are no colors to balance.
Space the prints unevenly. A grid looks stiff.
4. Matching Gift Tags and Wrapping Paper
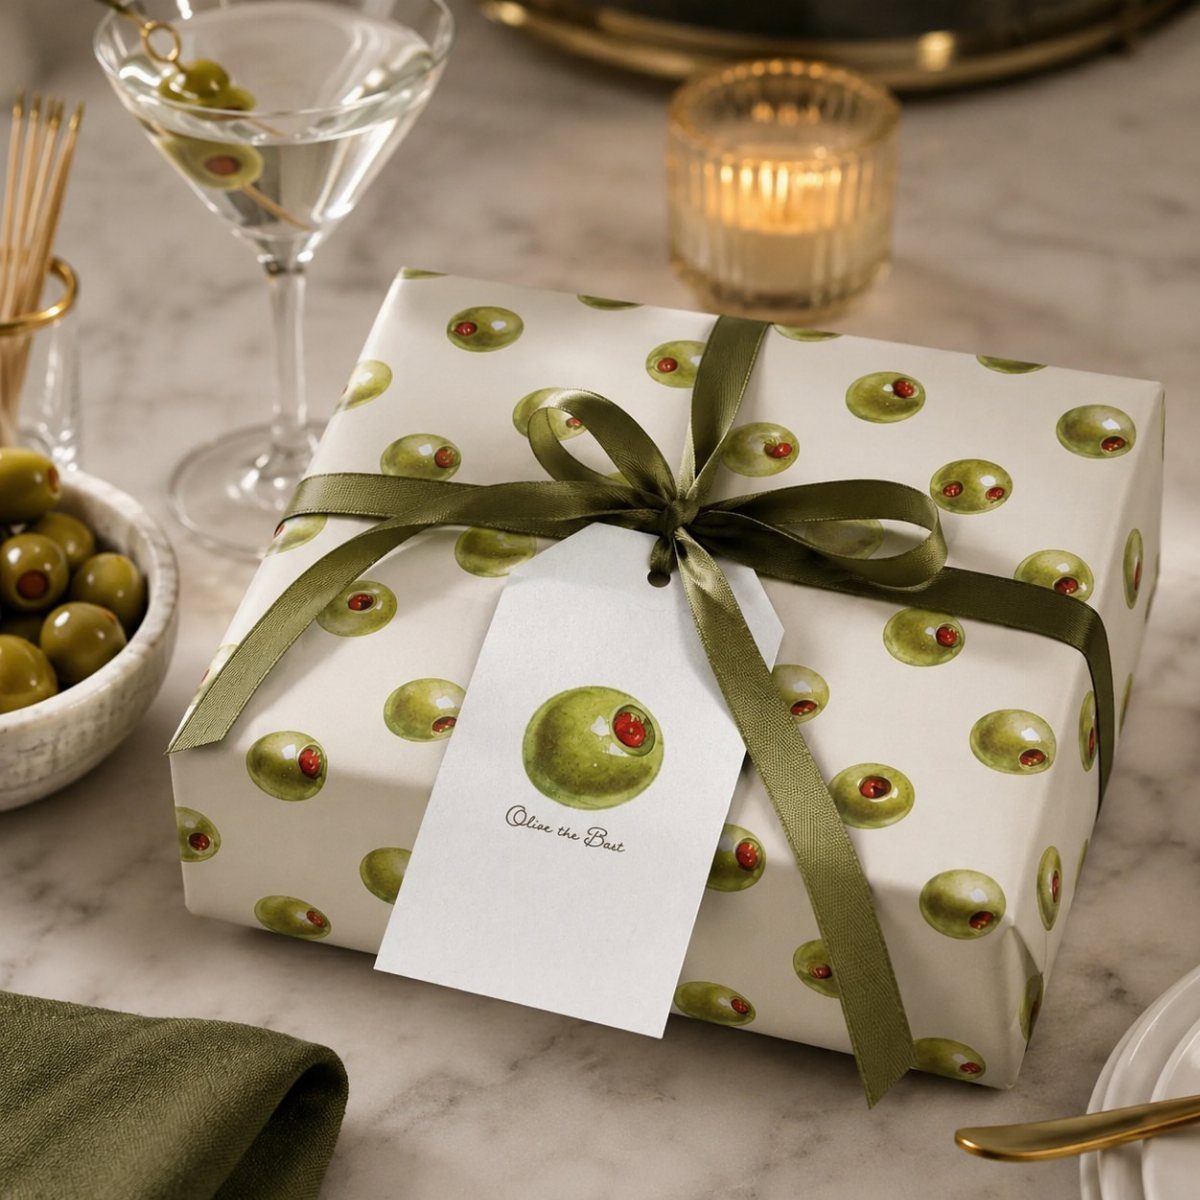
A pun on the tag, "Olive the Best," is what ties this wrap together, and a repeating olive motif on the paper makes the joke land before anyone reads a word.
Pick the wordplay first, then draw the pattern around it.
Design tag and paper in the same file so the colors match exactly. Reusing the green from the ribbon helps the set look planned.
Print tags on heavier stock than your paper if your printer allows it; they hold their shape better.
5. Simple Craft Paper Wrapping
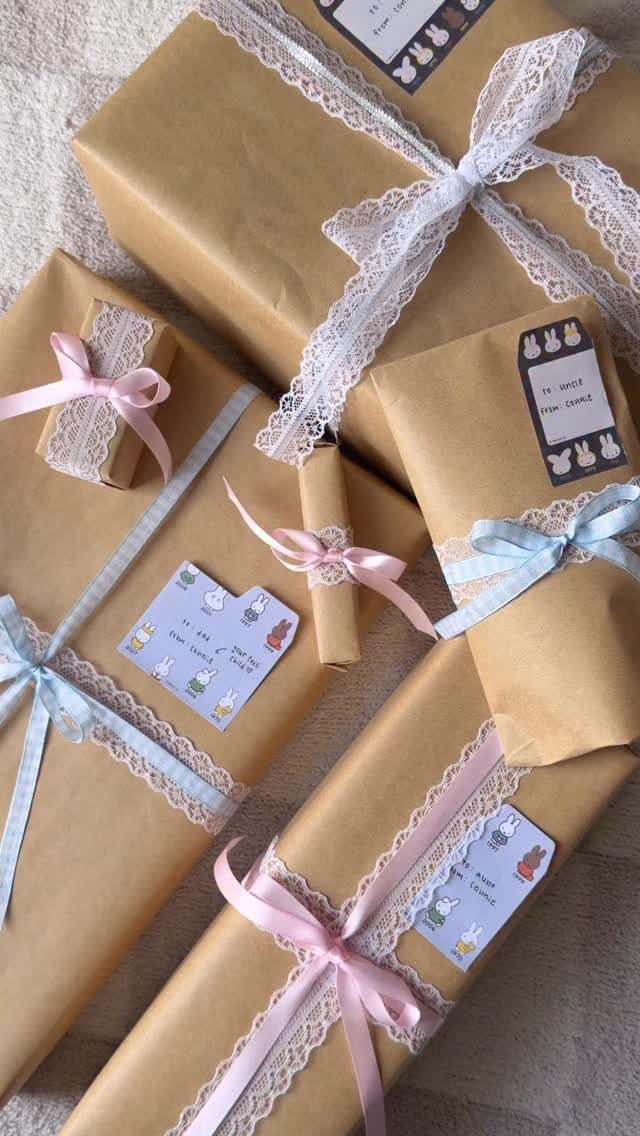
Brown craft paper is the cheapest blank page a gift wrapper can buy, and it takes almost any trim. Lace, ribbon in 2 colors and small illustrated tags all show up well against the neutral tan.
I like to keep the paper itself untouched and put the personality in the extras. Hand-write each name on its tag; it reads warmer than print.
Craft paper also suits stamping or hand drawing if you want to add a pattern, since dark ink shows clearly on it.
6. Gingham Checkered Wrapping Paper
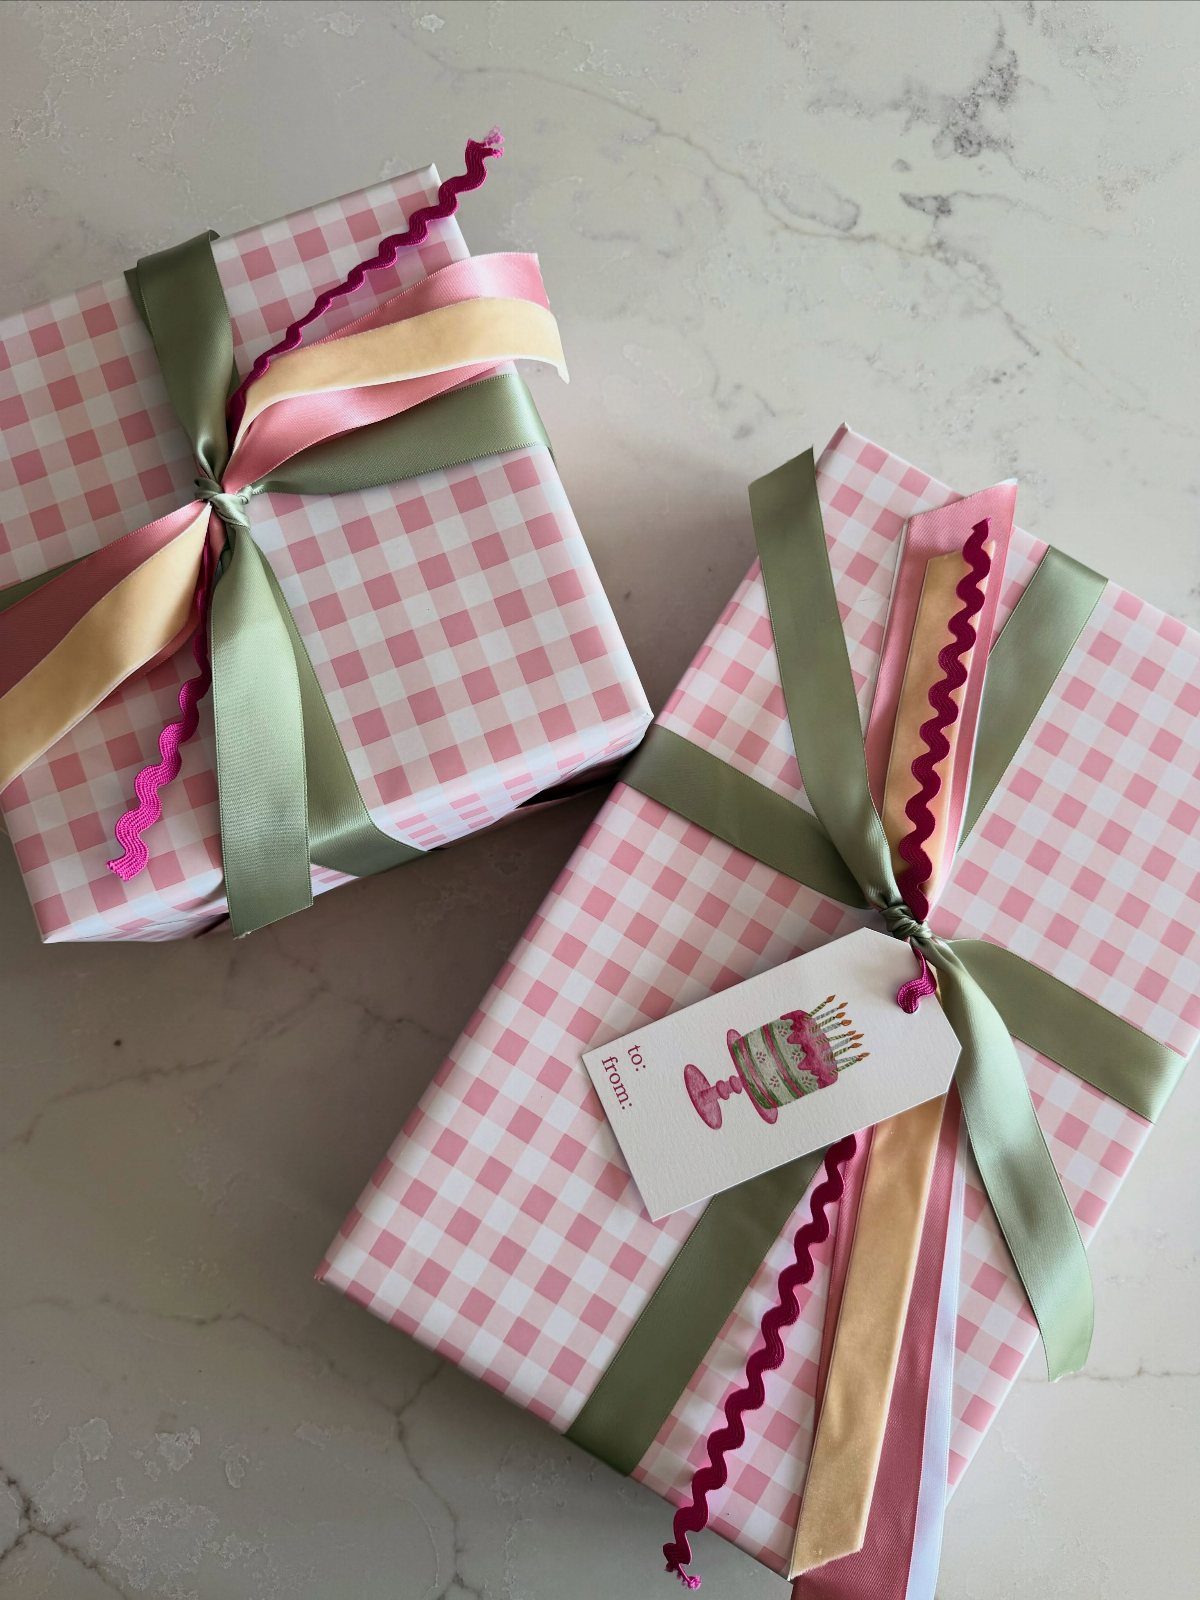
Gingham gets its look from evenly sized squares, so the grid is the one thing to get right.
In design software, set a square size first, then overlay a second, semi-transparent stripe set at a right angle to create the darker crossings.
Pink and white is soft enough that bright ribbons, layered over the paper, stay the focus. Stacking 3 colors works better when the widths differ.
Print a small test before the full sheet: uneven squares are easy to spot on a pattern this regular.
7. Nutcracker Holiday Wrapping Paper
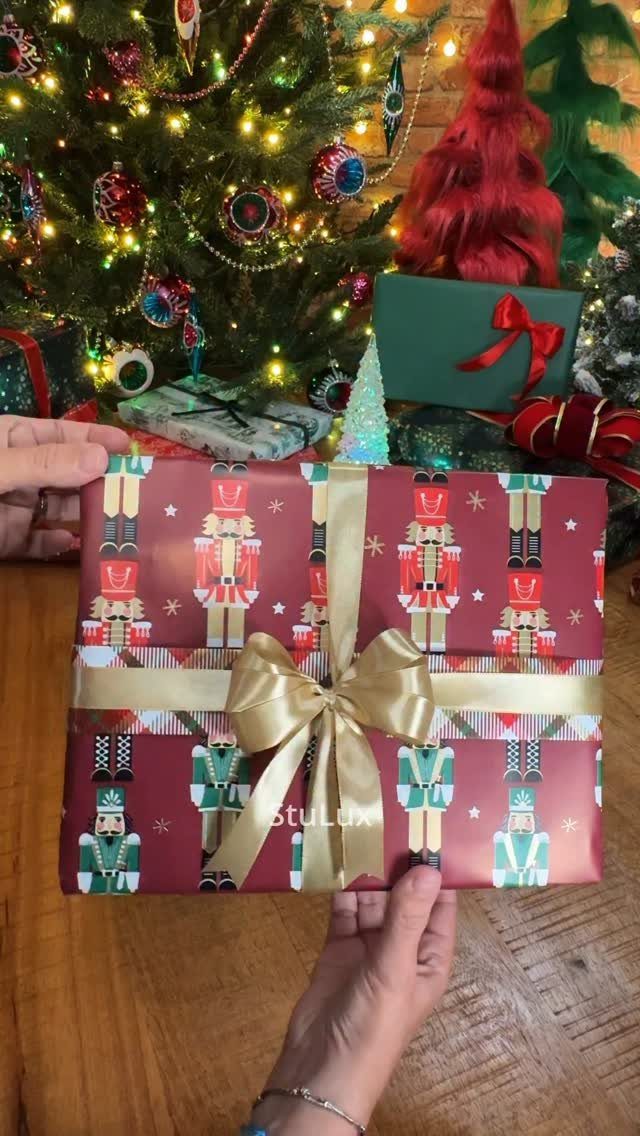
Deep burgundy is a forgiving ground for an illustrated nutcracker print, because gold and cream details stand out against it without any extra effort. A gold satin bow picks up the stars in the pattern.
If you design this yourself, keep the nutcrackers a consistent size and alternate them with the stars so the repeat reads evenly across the sheet.
Run one sample sheet first, since a color or scale problem is far cheaper to catch on a single page than on a whole roll.
I would skip a patterned ribbon here. The paper already has enough going on.
8. Strawberry Print Wrapping Paper
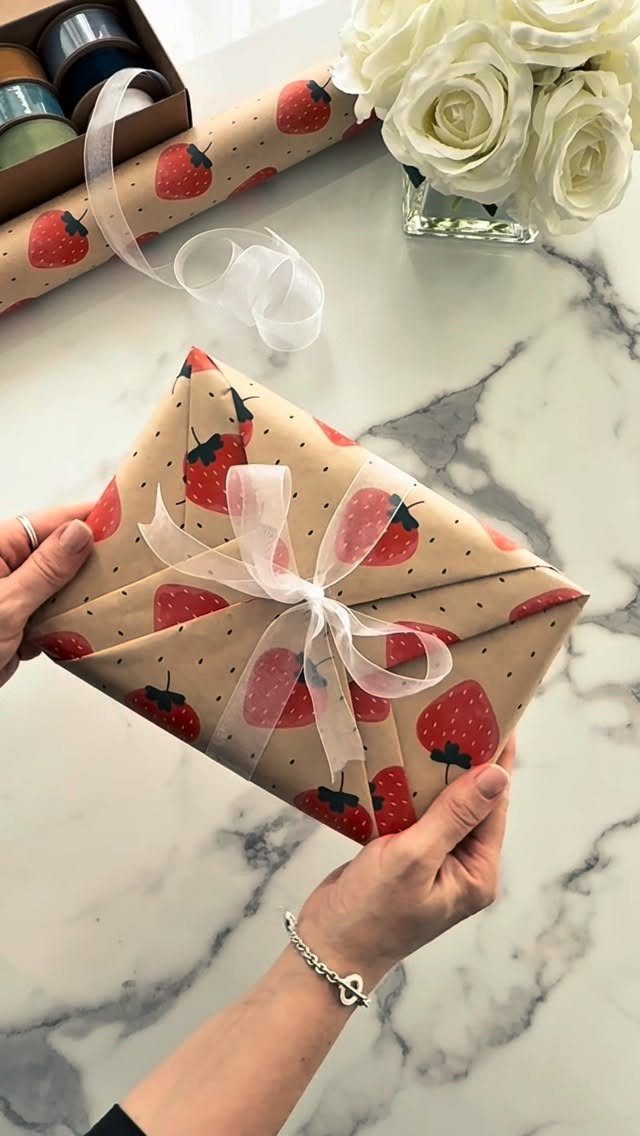
Red strawberries and black polka dots on kraft-toned paper make a print that feels more like summer than a holiday, so it works for birthdays and showers too.
The brown ground softens the red and keeps the dots from looking harsh.
A plain white ribbon is the right call, as it lets the fruit carry the design. Draw the strawberries in two or three sizes and scatter the dots between them rather than lining them up.
9. Classic Polka Dot Paper
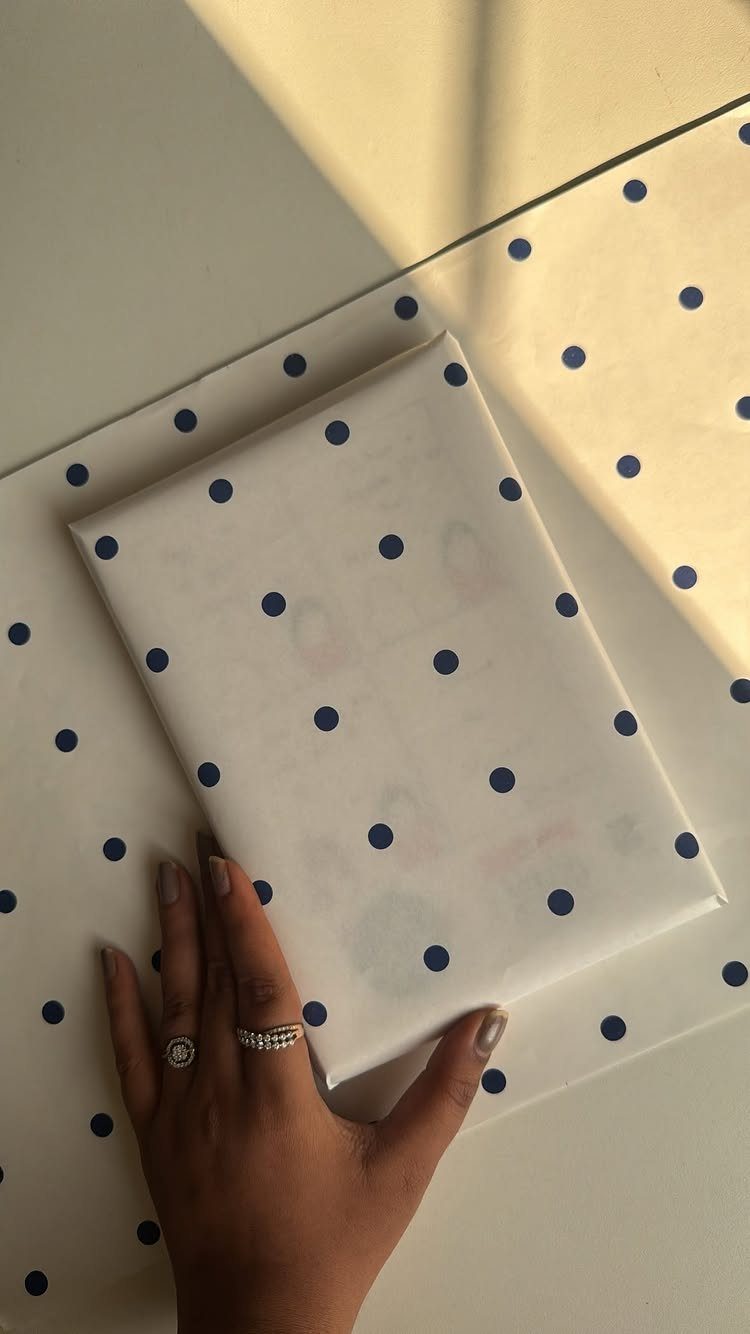
Blue dots on white are about as easy a pattern as a designer can set. Choose one dot diameter and one spacing, then offset every second row by half a gap so the dots stagger instead of stacking.
Even spacing is the whole job here, and a printed test sheet shows any drift right away. I like leaving generous white margin between dots; crowding them makes the paper look busy rather than clean.
10. Textured Circle Geometric Paper
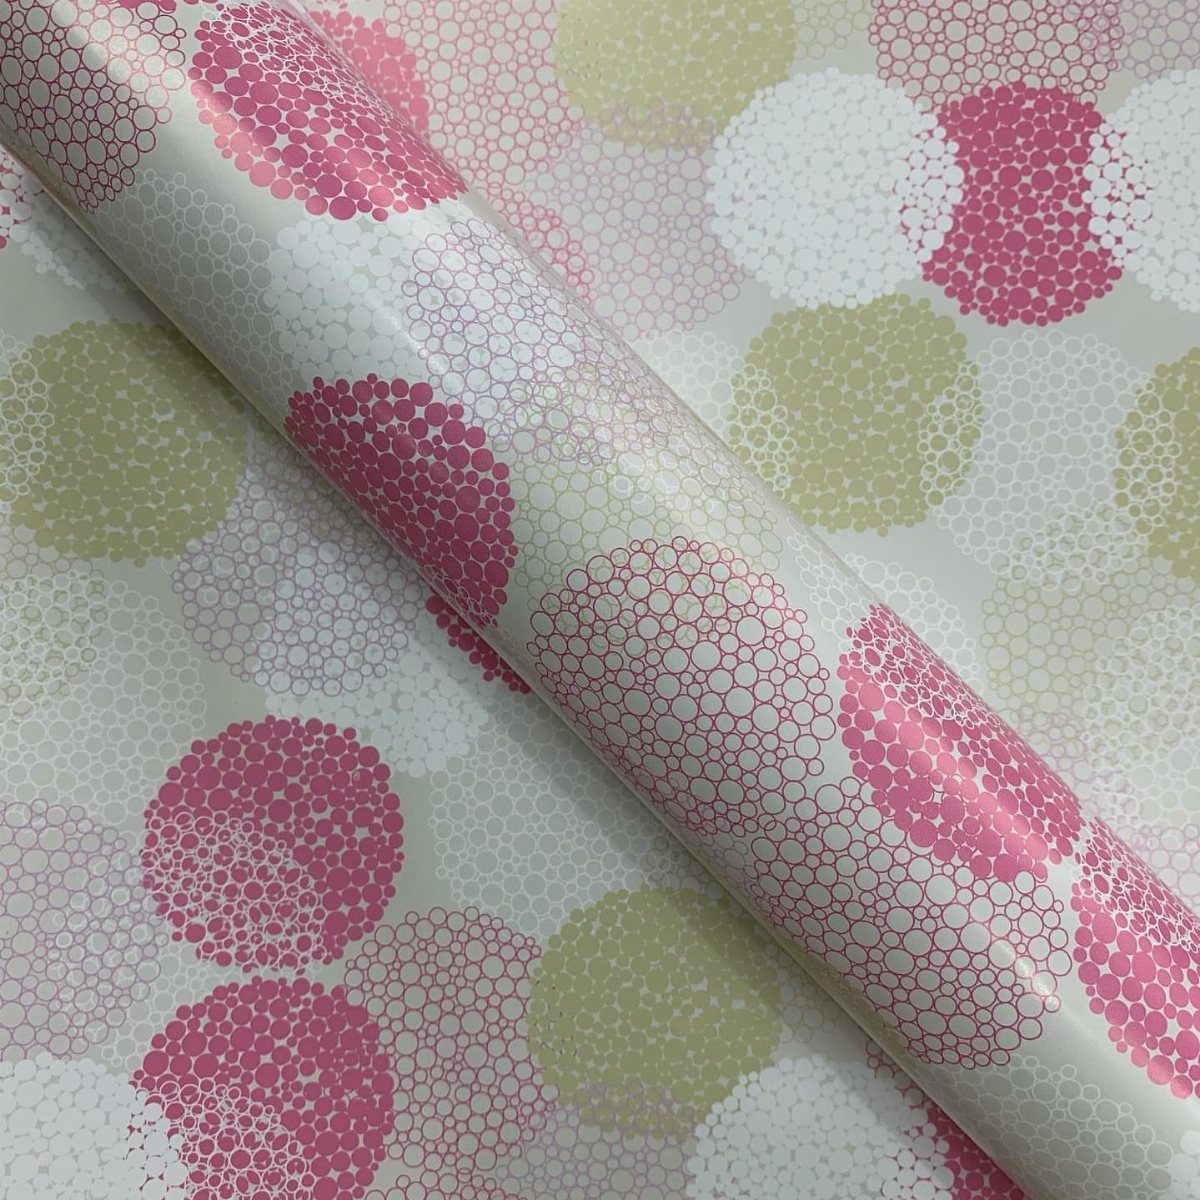
Large circles in pink, gold, and white on a white ground lean on texture more than on color. Layer overlapping circles of different sizes, and give each one a brushed or grainy fill so they look hand-painted instead of flat.
Scan real paint strokes or use a texture brush in your software. Keep the white background plain, since the circles already supply the interest.
A matte stock suits this better than a glossy one, and it lets the gold read as a color, not a reflection.
11. Shiny Metallic Wrapping Paper
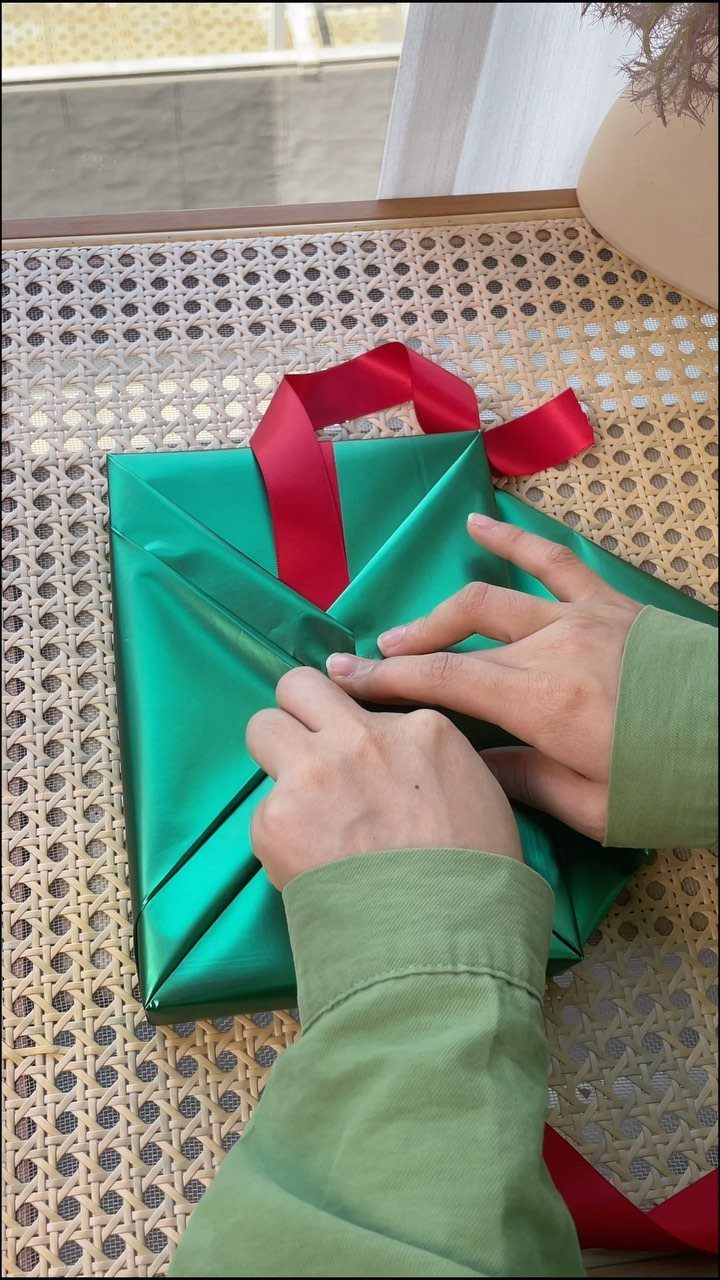
Metallic paper does the decorating for you, so the only choice left is the ribbon. Red satin against a vivid green is a bold pairing, and I think it works because both colors are fully saturated.
Metal-finish paper shows every crease and fingerprint, so fold once, cleanly, and use double-sided tape on the seams instead of visible strips. Cut the sheet to size first; reworking a fold leaves a mark.
Materials Needed for Wrapping Paper
Start with a short concept note before buying anything.
Decide the occasion, who the paper is for, and whether the look is playful, elegant or modern. A few minutes is enough, and a clear idea keeps every later purchase on track.
Then gather the basics: drawing tools, a scanner, design software, and paper. Newsprint and craft paper are both common choices, and they behave differently, so pick the one that suits your design before you draw or print anything.
A scanner earns its place if you plan to work from hand-drawn art or real textures. Without one, a phone photo in good light can stand in for small motifs.
Steps for Designing Wrapping Paper
Begin with the occasion and the recipient.
Write down a few ideas about color, pattern and theme, and keep it to the big picture. This takes only a few minutes.
Next, choose your colors from that note, then build the pattern so it repeats cleanly.
If you would rather skip the drawing, free downloadable wrapping paper design files exist. You download one, customize it, and print it, which makes a good shortcut when the party is close.
Benefits of Custom Wrapping Paper
Personalization is the biggest payoff. A name, a favorite color or a theme that fits the person shows thoughtfulness, and it turns wrapping into part of the gift.
Custom paper also adapts to any occasion: a birthday, a wedding, a holiday or a work event. You set the mood instead of settling for whatever the store stocks.
Business gifting gets simpler when your logo and colors are already printed on the roll. It reinforces your identity with clients, especially at corporate gifting times.
Generic paper is found everywhere, while your own design is unique, so people notice it. You can also use your own artwork or photos, which gives you plenty of creative freedom.
Frequently Asked Questions
What is custom wrapping paper?
Custom wrapping paper is paper designed for one specific gift or person, using your own artwork, photos, names, logos or colors.
Making your own paper means you pick the mood, rather than settling for the 3 rolls your local store happens to carry.
How do you create a repeating pattern for wrapping paper?
In design software, draw one square tile and let any shape that runs off an edge reappear on the opposite edge; that is what makes the repeat invisible.
That removes any visible edges, and the finished tile fills a sheet, a gift bag or tissue wrap at any size.
Is there a shortcut if I don’t want to draw my own wrapping paper?
Printable files are out there for free, and they spare you the drawing entirely. With a party only days away, I’d take this route over starting from a blank canvas.